Thursday, September 5, 2013

Conquering Mt. Pulag

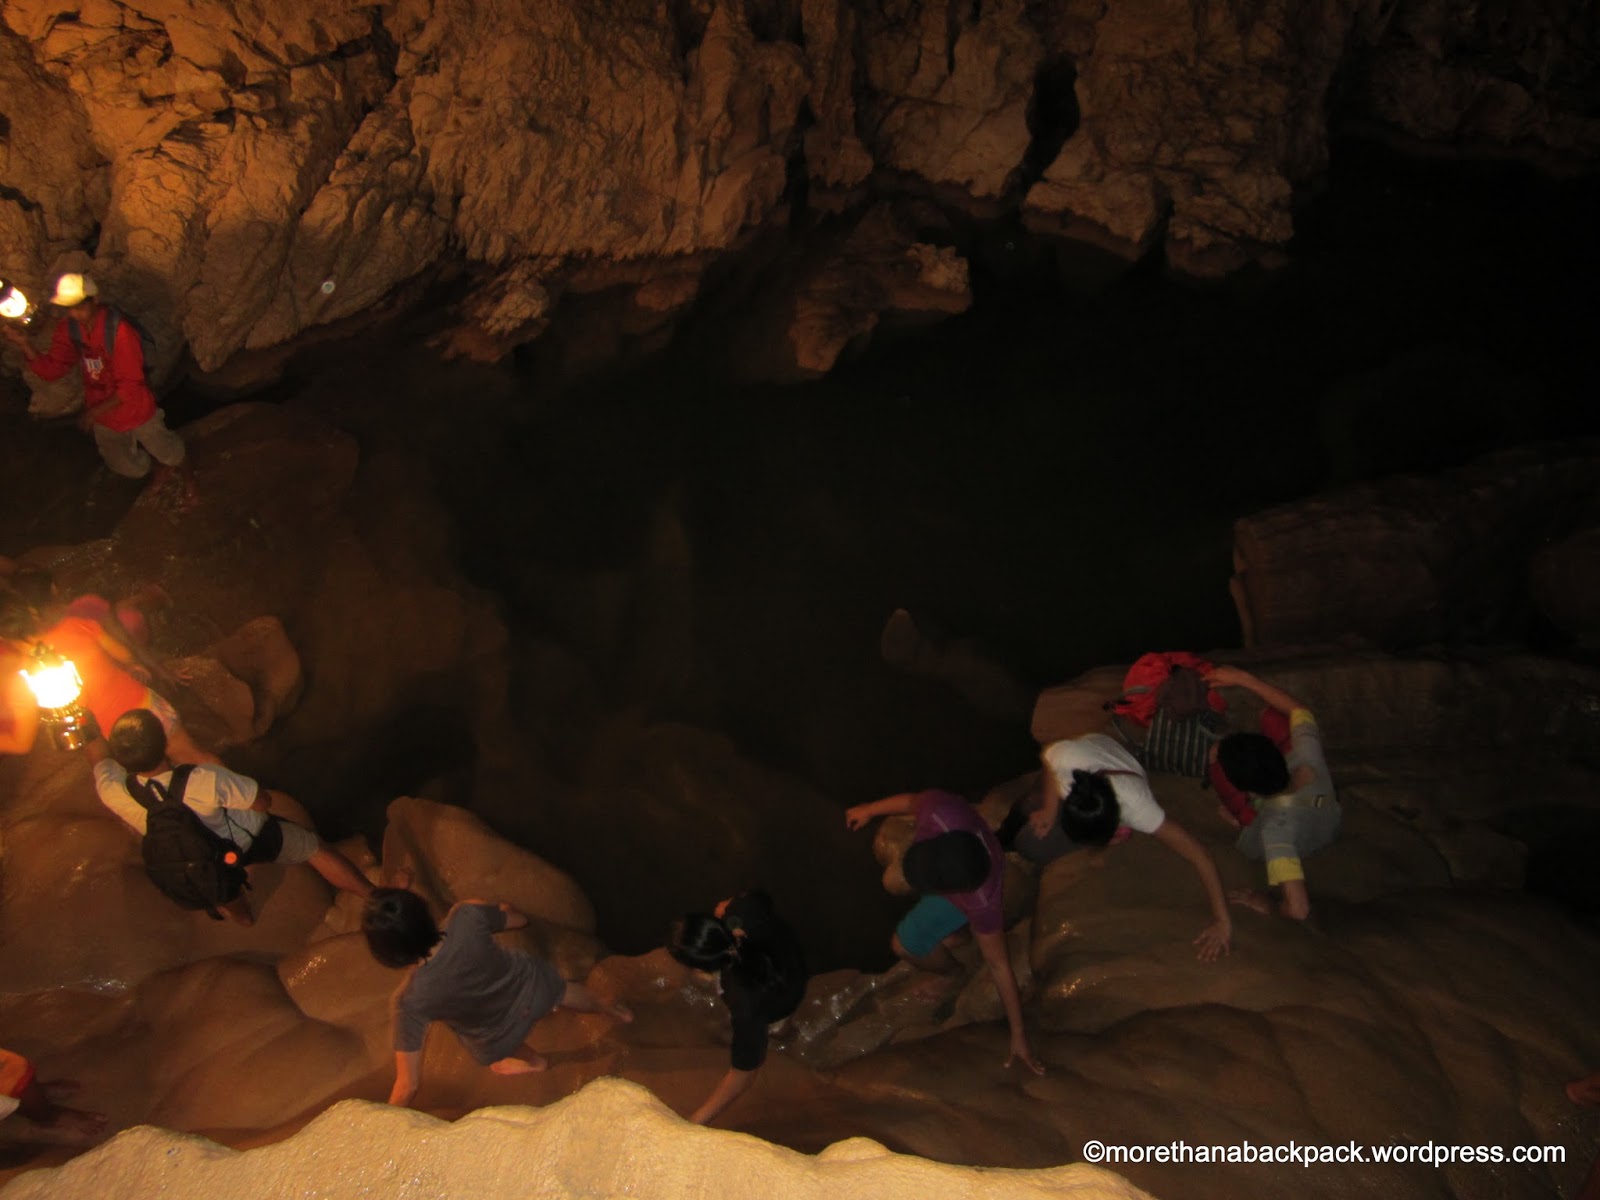
A few months back, I walked 7 km to the crater of Pinatubo and trekked the Aguid Rice Terraces in Sagada. So, just before the rainy season started, I decided I was ready to climb Mt. Pulag and find myself in the sea of clouds.


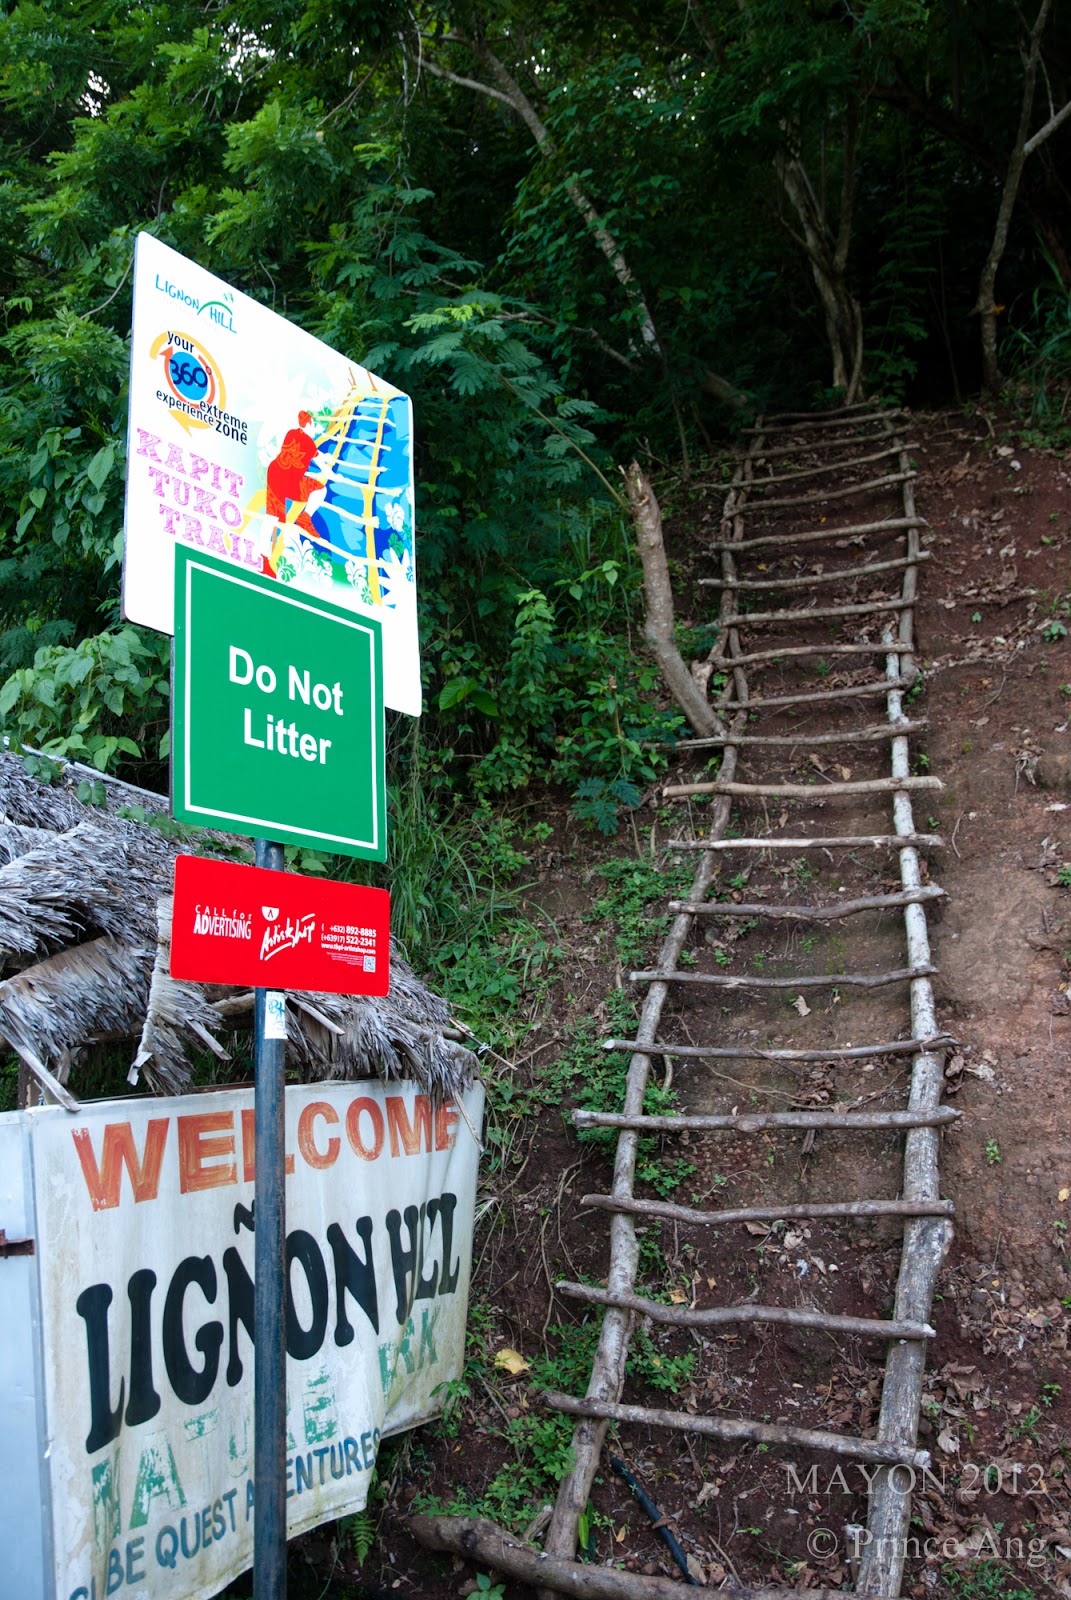
I planned a trip with my work colleagues and friends, organized by one of the Pulag tour groups. There are several trails to the summit and since I was a hopeless when it comes to climbing, I took the Ambangeg-Ambangeg trail. This was the beginner’s trail, which was a well-beaten track.

I was determined to do the full climbing experience in Pulag. After all, it was my first overnight climb. So, I prepared a checklist of things I should do in order to say that I've conquered Pulag....

¨  Carry my own backpack containing a sleeping bag, about 3 liters of water, clothes and other essentials. Check!

¨  Ride the monster jeep “top load” (ride on top of the jeepney). Check!

¨  Pee in the wild. Check!

¨  Trek with my 400 PHP kids’ rubber shoes . Check! My rubber shoes survived the trip but it was so muddy that I donated it when we returned to the ranger station.

¨  Camp in the mountain. Check!

¨  Reach the summit. Check! It was quite embarrassing because I was practically gasping and wheezing all the way up. In my mind, I was constantly telling myself that I should start exercising.

¨  Wear beach attire at the summit. Check! Before the trip, I read a lot of articles saying that it was often rainy and almost freezing in Pulag. So, just for kicks, I wanted to dress up in beach attire at the summit, just long enough to take a photo. The weather was actually good when we were there. There was a slight drizzle during the night, but other than that, the weather was good.
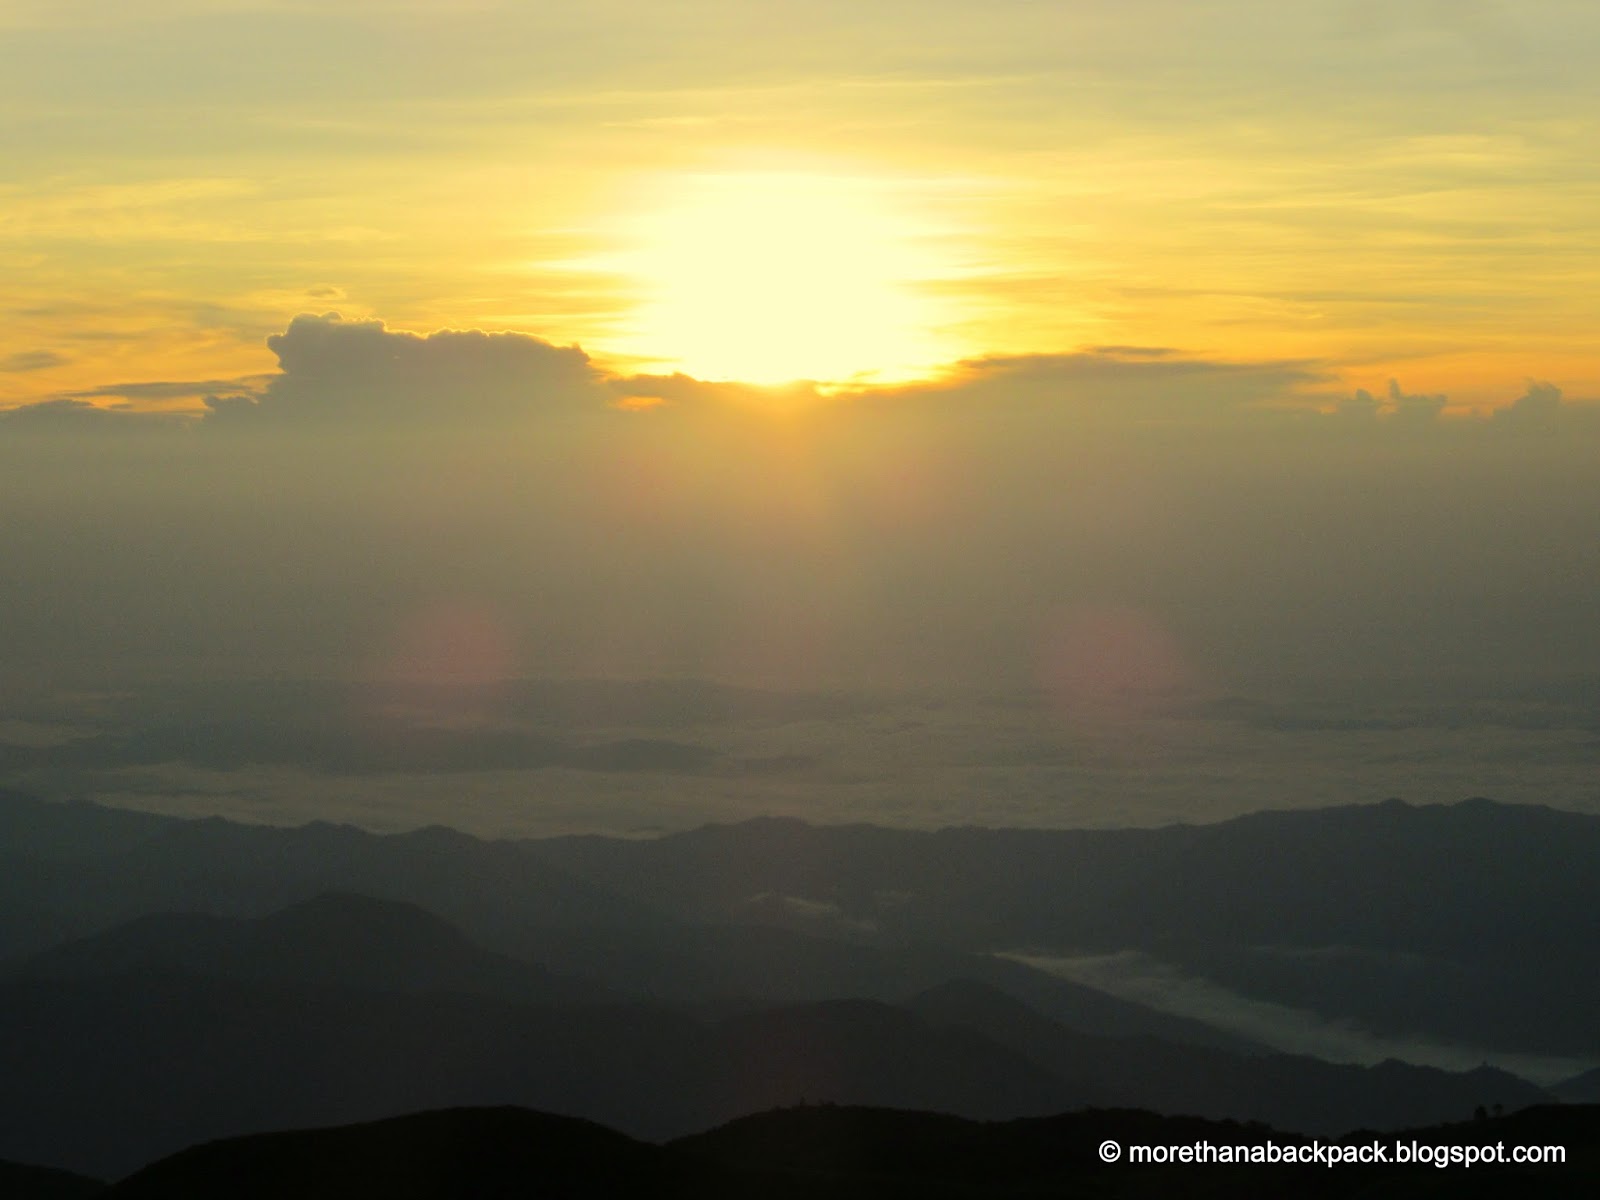
¨  Watch the sunrise at the summit. Check!

¨  See the sea of clouds. Dot. Dot. Dot.

To my disappointment, we never saw the sea of clouds. Just some clouds at the distance. Oh well, I’ll climb Pulag again next year. Or more likely, after 5 years.

On the bright side, I lost 4 lbs that weekend.


See all photos

Summary of Expenses

Item
Cost (PhP)
Tour Package
2500.00
Tent Porter (PHP 600 ÷ 15 pax)
40.00
Transportation

146.00

Taxi, Ayala Ave. to Victory Liner
100.00


Victory Liner Change Fee
46.00

Food

80.00
Others (Toilet)

20.00
Total

PhP 2,786.00

Thursday, August 22, 2013

Sagada

I could still feel the coolness of the dew from the night as I watched the sun emerge behind the mountain ranges, pouring yellow and orange to the scene. I took a deep breath of fresh air and enjoyed the tranquility, which was so uncommon in the city. I was in the Mountain Province of the Philippines, in the seemingly isolated village called Sagada.

I booked another trip with Tripinas for my Sagada-Banaue trip. I’m not usually a fan of tour groups but my previous trip with Tripinas in Pinatubo went well and it was Holy Week in the Philippines, which meant that bus stations were crowded and probably fully booked.  As it was almost summer in the Philippines, it was scorching hot in the capital. However, it was cool and drizzling in Sagada. It was a perfect getaway for the Holiday.

We left Quezon City in Metro Manila at around 8:00 in the evening and traveled for over 10 hours in a private van. But as we approached Sagada, the view was scenic. We passed through mountains and mountains of trees.

After settling in our rooms in our rooms, the village tour started at St. Mary’s Church. While majority of the Filipinos are Roman Catholic, most people in Sagada are Anglicans, as influenced by the missionaries that went to Sagada. Then, we hiked Echo Valley and visited the Hanging Coffins, which showed the unique burial tradition of Sagada.

The Hanging Coffins

After lunch, we trekked Aguid Rice Terraces to reach the Bomod-ok Falls, otherwise known as the Big Falls, where we jumped off a rock and went swimming. To my friend, the trek was just like a walk in the park. But, as somebody who is very much physically unfit, I was completely worn out. It rained on our way back so the trek going up was a bit slippery and muddy. We were soaked from tip to toe after the trek but I enjoyed the experience.  I doze off almost instantly that night.

Bomod-ok Falls

Day 2

We visited the caves on our second day. There’s an option to do cave connections, where you start from one cave, go through holes inside the cave, and end up in another. But since it was peak season and there was “cave traffic”, we decided to visit the caves the normal way. The first cave we visited was Lumiang Cave, where numerous coffins can be found stacked up inside.

Lumiang Cave

Then, with cave guides, we went spelunking at Sumaguing Cave where we found interesting rock formations.

Spelunking at Sumaguing Cave


After the cave adventures and good ol’ siesta, we spent the rest of the day just strolling around the village. There are no fast food establishments or convenience stores in Sagada. But there are several good restaurants in this little village, notably, the Lemon Pie House. I just love their sour lemon pie.

Day 3

We left early the next day, just in time to watch the sun rise over the mountains of Sagada.

Sunrise in Sagada


On our way back to Manila, we stopped by the Banaue Rice Terraces viewpoint. The Banaue Rice Terraces, its photo found at the back of the old 1000 peso bill and the new 20 peso bill, is a long stretch of rice terraces extending through several mountains.

The Banaue Rice Terraces and the 20 peso bill

Sagada is just a small village in the mountains but the charming narrow roads, and cool, fresh and quiet environment is the reason why it’s my new favorite place in the Philippines.

See all photos here.

Summary of Expenses

Item
Cost (PhP)
Tour Package (Tripinas Sagada-Banaue)
3890.00
Entrance Fee (Banaue Rice Terraces)
10.00
Transportation

66.00

Bus, Ayala Ave. to North Ave.
36.00


Bus, North Ave. to Ayala Ave.
30.00

Food

548.00

Vincent’s
105.00


Salt & Pepper
150.00


Yogurt House
50.00


Lemon Pie
60.00


Snacks, etc.
183.00

Others

229.00

Toilet
29.00


Souvenirs & Gifts
200.00

Total

PhP 4,743.00

Monday, March 18, 2013

Volcano Tripping: Mount Pinatubo

The eruption of Mt. Pinatubo back in 1991 was catastrophic. The ashes from the eruption reached Manila (87 Km away) and the whole eruption left a substantial effect on the ozone layer. Today, Pinatubo is a tourist destination with a lovely lake in its now silent crater. The route to the Pinatubo Lake is a relatively easy trek. But for someone like me who can barely climb a flight of stairs, this was a challenge.

Vastness of rocks, dust and lahar


My friends, Prince and Angel, took the Pinatubo tour package of TRIPinas. We left Manila at 2AM and arrived at the base camp in Barangay Sta. Juliana before dawn. At around 6 AM, we boarded the 4x4 vehicle with another participant from TRIPinas. The 4x4 ride, which took about an hour, was bumpy and dusty. We passed through a long stretch of lahar, which used to be a river before the 1991 eruption.

River crossing (photo by Prince Ang)

After the 4x4 vehicle was the 7 km trek in the Crow Valley Canyon, where we saw more tuffaceous rocks and lahar. The lahar that resulted from Mt. Pinatubo’s eruption and the typhoon that came after had wrought a desolate ground. I felt like I trekking an eerie mountain from another planet. But as we trudged further towards the crater, the scenery began to change from a wasted land to verdant ground. 

The 7 Km Trek


My umbrella had proven itself useful when the sun had risen. Although it was quite cold that morning, it was scorching in some parts of the trail. We were quite lucky though because during the time we were there, the weather was fairly good. Not too hot, nor too cold.

The 7 Km Trek (photo by Prince Ang)

After several stops and a lot of panting, we finally arrived at the breathtaking Crater Lake. Before, people could swim in the crater and had the option to take a boat ride on the Crater Lake. However, there was no lifeguard at that time, so we could only look, dip our toes into the water and take photos.

Arriving at the Crater Lake viewpoint

After devouring our packed lunch, it was time for another 7 km trek on the way back. I took my time hiking back, taking a lot of photos along the way and walking like a senior citizen. My feet were already complaining peevishly but I was assiduous.  The following day, from muscle to joints, I was in pain. Nevertheless, I had no regrets because visiting Mt. Pinatubo was, for me, a remarkable feat.

Pinatubo Lake

Friday, March 8, 2013

Volcano Tripping: Mayon Volcano

Photos by Prince Ang


I wanted to visit all the places featured at the back of the Philippine Peso bill and Mayon Volcano is at the back of the PhP 100 bill. So, with my friends Prince and Angel, we ventured into one of Philippines’ natural attraction in Legaspi City in the region of Bicol… Mayon Volcano.

Going In

We originally wanted to go to Legaspi by PNR (Philippine National Railway) train but the stop was only until Naga, which was about 2 hours away from Legaspi. Furthermore, the train from Manila leaves at 6PM and our work was until 8PM. So, we decided to take the Peñafrancia bus with super-reclining lazy boy seats. The bus station was just a 3 minute walk from the Cubao station of the MRT (Metro Railway Transit). The overnight bus ride had two stops and it was also equipped with an on-board toilet.


Meeting Mayon

We were greeted by the sight of Mayon when we arrived early in the morning. We took a quick shot of the volcano and decided to get a better angle from the Lignon Hill viewpoint. We later realized that, that morning was the only time we’d get a perfect view of Mayon.


There are no taxicabs in Legaspi. Riding a jeepney or a tricycle was the way to get around Legaspi. Jeepneys are probably the cheapest mode of transportation but since we weren’t familiar with the jeepney routes in Bicol, we opted for the tricycle. Tricycle rates can go from PhP 8.00 to PhP 150.00 and the fare can be divided between the passengers.

We checked-in at Hotel Casablanca and after trying the famous Bicol Express for lunch, we headed towards Lignon Hill. From the entrance of Lignon Hill, we started trotting on the paved road towards the viewpoint on top of the hill. Halfway up the hill (and panting) we found the “Kapit Tuko Trail”, which roughly translates to sticking like a gecko trail. We climbed the bamboo ladder and went over some rocks. I’m not really sure if we were following the correct trail but we were pretty sure we were going on the right direction, which was going up :)

The view of Mayon was unobstructed by houses or buildings from Lignon Hill. However, when we were there, it was cloudy and we couldn’t get a full shot of the volcano. After over two hours of eating ice cream and trying to move the clouds with our minds, we decided to visit another view point, at the Cagsaua Ruins.

Cagsaua Ruins, is about 30-60 minutes away from Legaspi. Here, you’ll see the tower of the Church of Cagsaua. The rest of the church was buried after the eruption of Mayon Volcano. There isn’t really any fixed tricycle rate (that I know of) going to and from Legaspi and Donsol. But we were able to negotiate at PhP 50.00 per person (PhP 150.00 for the three of us).

Our view of Mayon Volcano from Cagsaua was… cloudier. Luck wasn’t on our side so we decided to be creative about it. Here is Prince’s work of art:

The shy Mayon Volcano from Cagsawa Ruins

Leaving via Naga

The nearest PNR station was in Naga City and since we really wanted to try the one and only sleeper train of the Philippines, we went back to Manila through Naga. Legaspi City has an integrated terminal. So, in the same place where our bus arrived, we found a public utility van to Naga.  After a two-hour ride, we found ourselves in Naga City, which was a little bit more progressive than Legaspi City. The PNR Naga Station was a little bit hard to find. Like most places in the Philippines, there were no directions, and not all of the roads can be seen in the GPS. Angel and Prince decided to stay at the PNR Naga Station but since we still had about 3 hours before we could board the train, I decided to go around the city. I found the San Francisco Church, an old Church in Peñafrancia Street across the bronze statue in Plaza Quinze Martires. I later learned that the Patroness of Bicol is the lady of Peñafrancia. Then, I treated myself to a halo-halo at DJC, a popular little store selling this native Filipino dessert.

Naga PNR Station and the sleeper train


Although the commuter train of PNR in Metro Manila is infamously known to be crowded and dirty, the sleeper train of PNR was actually quite clean. There was a lady that kept the bathroom clean all throughout the night. We stayed in a 4-bed open compartment with curtains for each bed. Since it was night time, you can’t see anything from the window. Plus, there was thick screen of grills on the window. The bed was comfortable but the train was VERY turbulent and hooting most of the night. And I think there might have been people (informal settlers on the rail side?) throwing rocks at the train. But then again, considering that the train was hooting at the middle of the night, I don’t blame them.
4-bed compartment


Before dawn, we arrived at the Pasay Station of PNR. There were hardly any taxicabs so we decided to walk home, which was just a few kilometers away. When I finally arrived home at around 6 in the morning, I took out my bucket list and scratched off Mayon Volcano.


Summary of Expenses:

Item
Cost (PhP)
Transportation

2,100.00

Metro to Bus Station
12.00


Bus, Manila to Legaspi
1,100.00


Jeep/Tricycle
163.00


Van, Legaspi to Naga
180.00


PNR, Naga to Manila
665.00

Entrance Fees

30.00

Lignon Hill
20.00


Cagsawa Ruins
10.00

Accommodation

730.00
Food

790.00
Personal Souvenirs & Gifts

280.00
Total

PhP 3,950.00